How we Vinyl Wrap a car!
August 29th, 2013You need to know why people come to us. What makes us different? All work is carried out by a trained 1080 3M installer and you can be guaranteed three key points; Quality products, Quality Workmanship and customer service that will blow you away! If you would like a quote, jump over here:

A customer often arrives to us with an idea or a blank canvas that we transform into a custom showpiece. We set out to explain the wrapping process to the owner. This outlines any parts that need to be removed for a professional finish. It often includes mirrors, lights and door handles.
The selected body panels are removed and the car is then cleaned with a mix of non-lotion detergent and water. We make sure we clean all hidden areas where the vinyl will be tucked or wrapped. We finish the cleaning process with an alcohol cleaner then lint-free towel.
Before applying the graphics, we identify all areas on the vehicle that require knifeless tape. This process is critical because there is nothing worse then removing the wrap and finding a damage paint job. A 3M edge primer is also used on convex and outer edges of the curves. This helps seal the edges.
The tools of choice are cotton gloves, a squeegee, heat gun and digital thermometer.
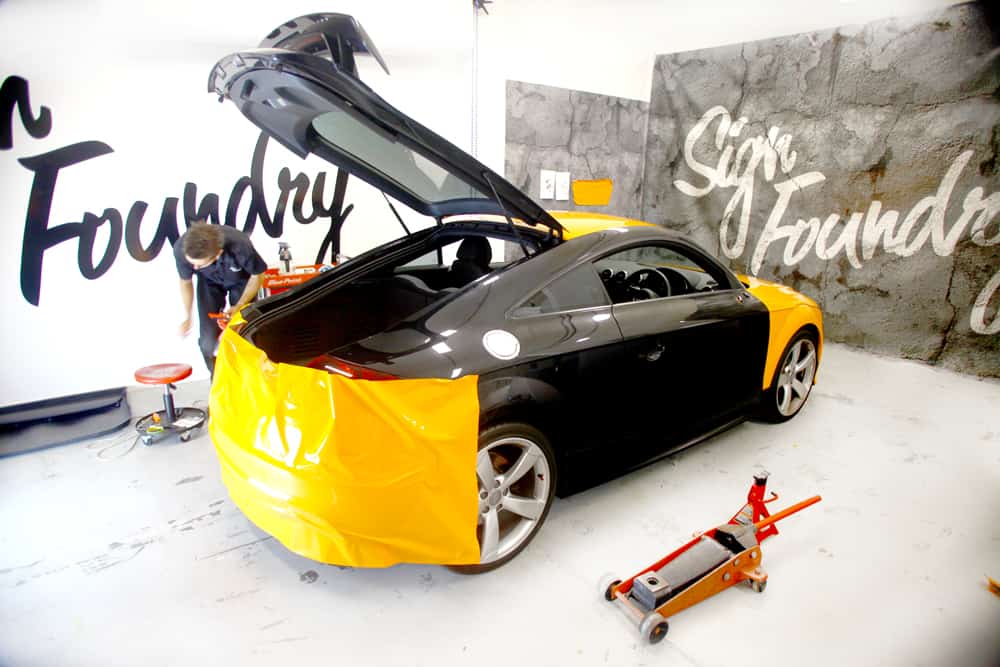
The doors, bonnet, boot and side panels are all done in separate pieces. This means that there will be no visible joins and will make it difficult to spot if it’s a wrap or paint.

With the panels wrapped we can reinstall all fittings including the badges which are reapplied in the precise position.
The final step is to apply a polishing product such as Maguire’s natural shine protectant. This will remove any lite scratches and give the wrap a glowing shine.
The finish product looks amazing and would give paint a run for its money.
If you are after more information or a quote, click here.


